
Choose your device
First, select your Mobal WiFi device:
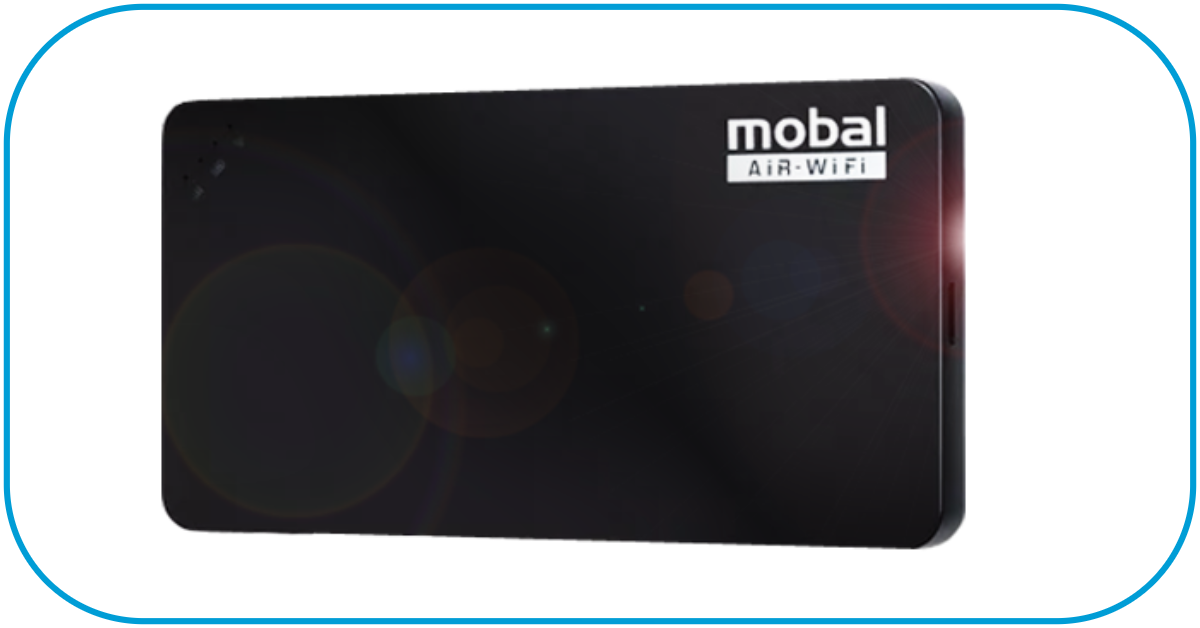
‘Air-1’ WiFi Device
Device Layout
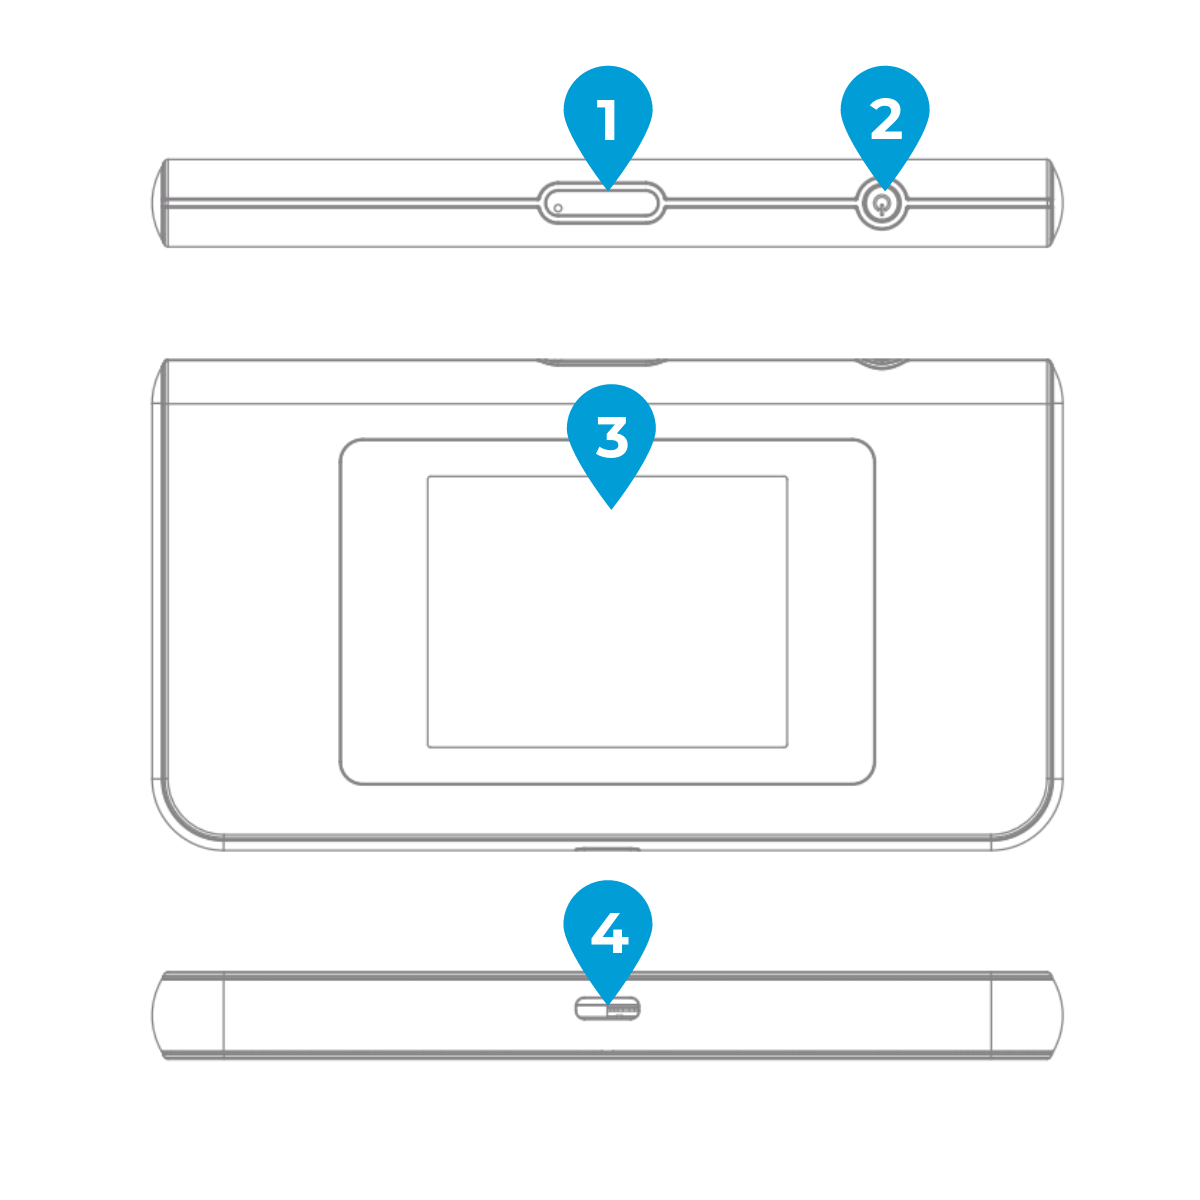
On your Mobal WiFi Device, you’ll see the following:
- SIM Card Tray
- Power Button
- Touch Display
- USB-C Charging Port
 On-Screen Icons
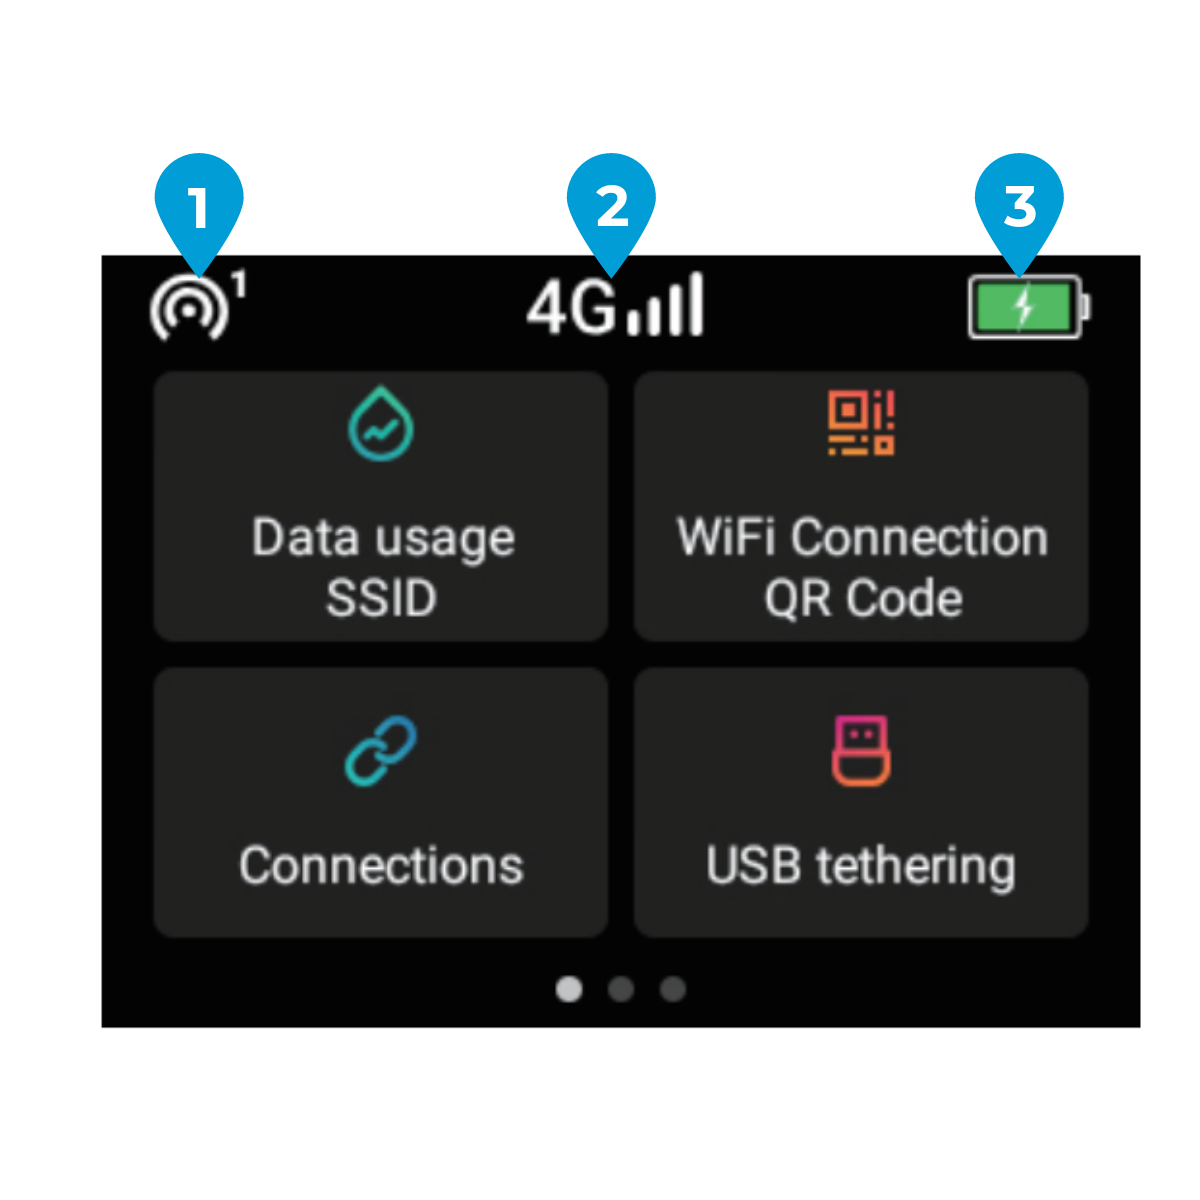
At the top of the screen, you’ll find the following icons:
- Number of devices connected
- Signal strength
- Battery level
On-Screen Menu
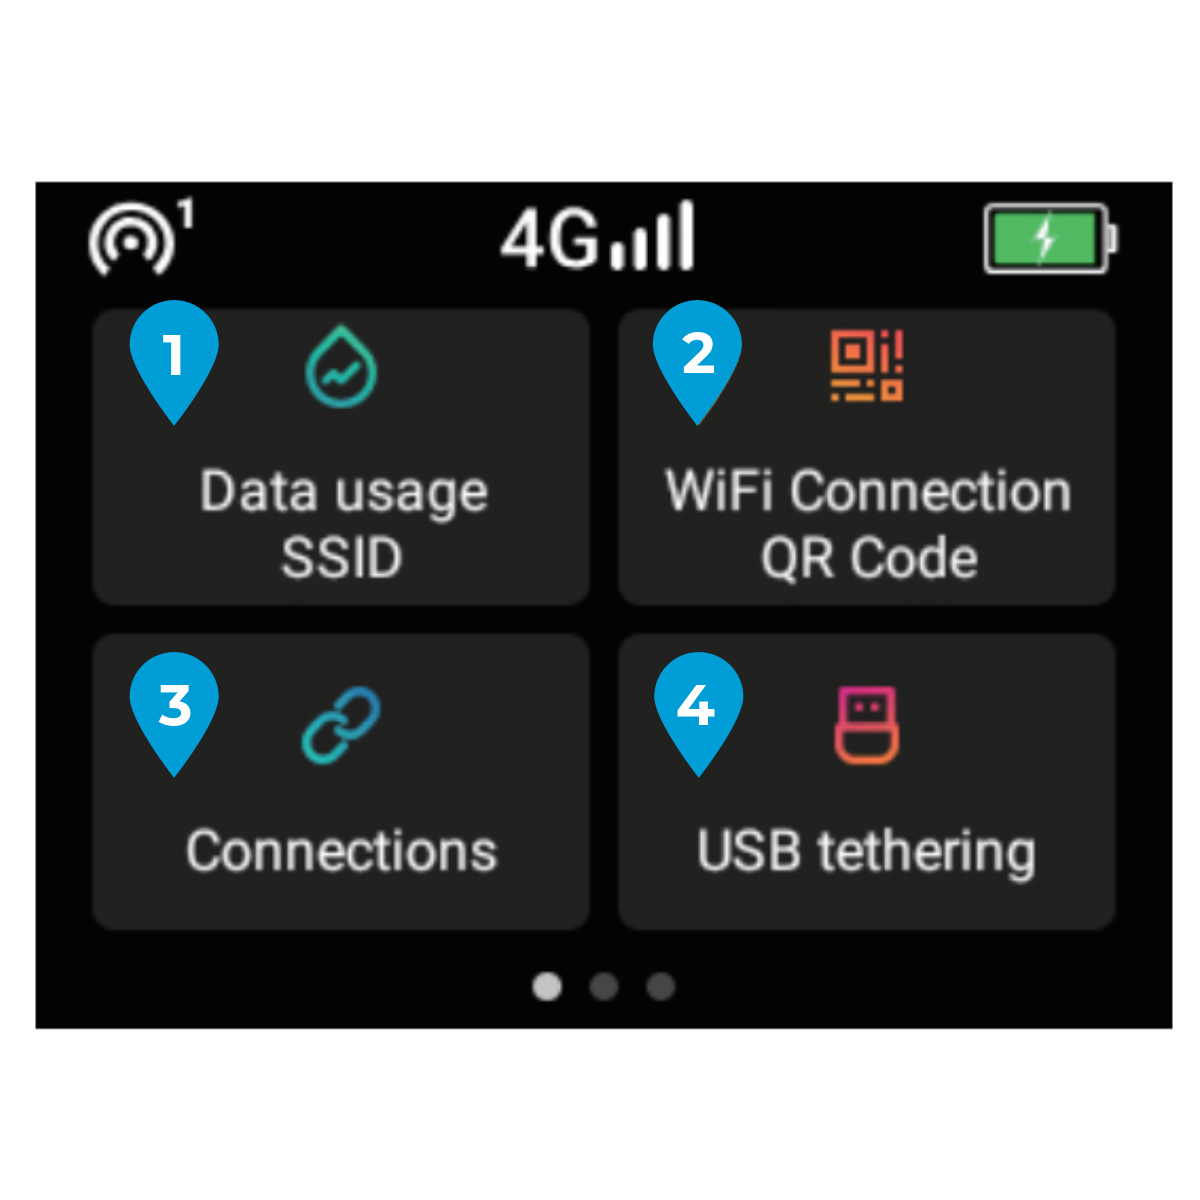
On the device’s main menu, you’ll find the following items:
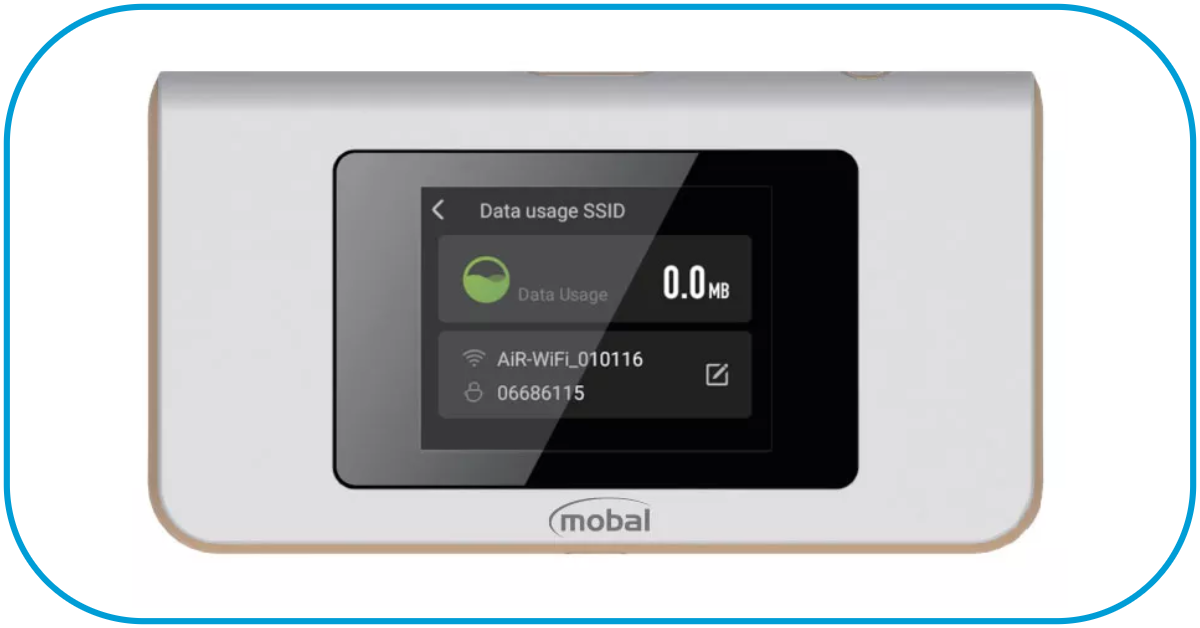
- Data Usage / SSID
Check your data usage, SSID and password. - WiFi connection QR code
Connect easily by scanning the QR code from your smartphone. - Connections
Block and unblock devices that are connected to your Mobal WiFi device - USB tethering
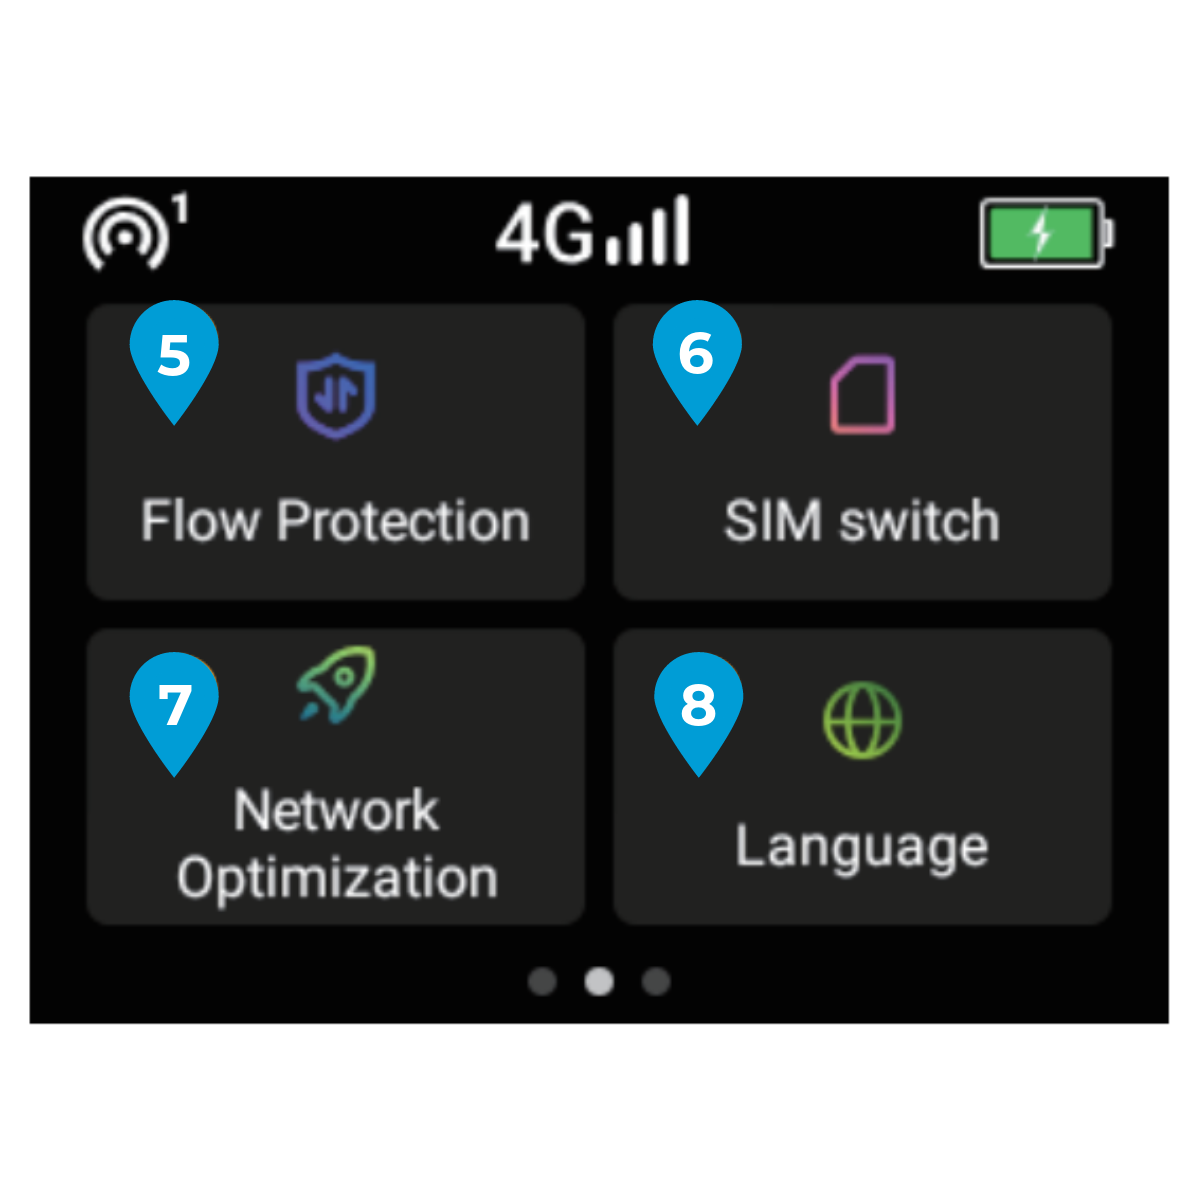
Connect to Mobal WiFi via USB - Flow protection
Manage your data use by preventing high usage activities - SIM switch
Switch to an inserted SIM card - Network optimization
Troubleshoot an unstable connection if you’re experiencing problems - Language
Choose your language - Software update
Update your device to the latest software - About
Check your device’s information and restore factory settings

‘U3’ WiFi Device
Device Layout:
The diagram below displays the general layout of your Wi-Fi device:

Located around the edge of the device, you will find the ‘Power’ button, the ‘Reset’ button, the charging port and a SIM card slot.
Located on the front of the device, you will also see that there are three LED icons (relating to the signal, the battery and the Wi-Fi connection) and four LED lights (which are used to display both the battery level and the signal strength) but this will be explained in more detail below.
Charging Port
The charging port is located on the right hand side of the unit and you will be required to use a Type-C USB (USB-C) cable in order to charge your Wi-Fi device.
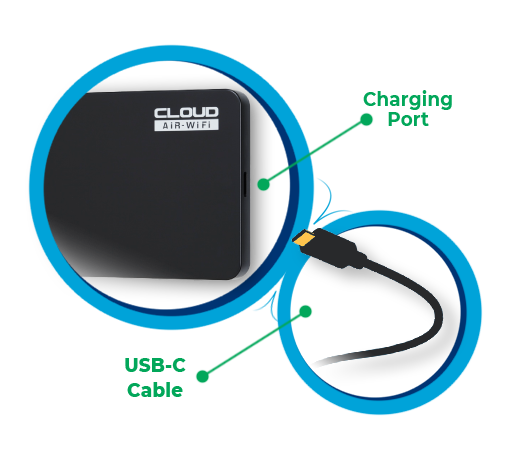
You can then connect the other end of the cable (with the standard USB connector) to a standard USB port on another device (such as a PC / Laptop) or you can connect it to a USB plug adapter to charge it via the wall outlet.
If you place your device on charge, you will notice that the ‘Battery Indicator LED’ light will begin to flash and it will return to a constant light once the charging cable is removed.
SIM Card Slot
Located on the bottom of your Wi-Fi device, you will see that there is also an empty SIM card slot.

However, we can confirm that our Wi-Fi service operates using a SIM-Free plan (meaning that a SIM card is not required) and so you can ignore the SIM card slot.
Power & Reset Buttons
You will find the ‘Power’ button and the ‘Reset’ button located along the top of the device.
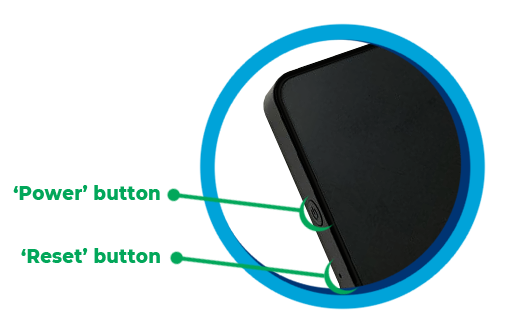
‘Power ON’ – Press and hold the ‘Power’ button for 3 seconds
‘Power OFF’ – Press and hold the ‘Power’ button for 5 seconds
‘Reset’ – Press and hold the ‘Power’ button for 14 seconds
‘Factory Reset’ – Press and hold ‘Reset’ button for 5 seconds
Icons Explained
Located at the top left corner of your Wi-Fi device, you will see that there are several LED indicator lights.
These include the ‘Strength Indicator’ LED (which is is 4 dots in a line) and then three separate icons below it (which include the ‘Signal Indicator’, the ‘Battery Indicator’ and the ‘Wi-Fi Indicator’) as shown in the diagram below:

For an explanation of the status of each LED light, please refer to the diagram below:
![]()
If you need to check the current battery level, you can do so by pressing the ‘Power’ button (located on the top edge of the device) once.

In the first three seconds after pressing the ‘Power’ button, the ‘Strength Indicator LED’ section (the four lights in a line) will light up to display the current battery level.
After the battery level has been shown for three seconds, the ‘Strength Indicator LED’ section will then display the current signal strength.